Indigo dye workshop
X
Mizuki Shimizu - Ai life studio - Japan

The story.
In Japan, indigo dye is known as Ai-zome and it has been part of the Japanese culture since centuries. It is carefully extracted from the leaves of the indigo plant Persicaria tinctoria which grows throughout the country. Used only for aristocrats or samurai at first, it is around the 17th century that it has spread to the common people and coloured various items to become Japan signature colour.
A story of a beautiful craft, an heritage that still continues to live today in our modern world where the passion and care for things that take time become beauty.
'' Create a set of pieces to decorate my interiors using natural indigo dying technique "

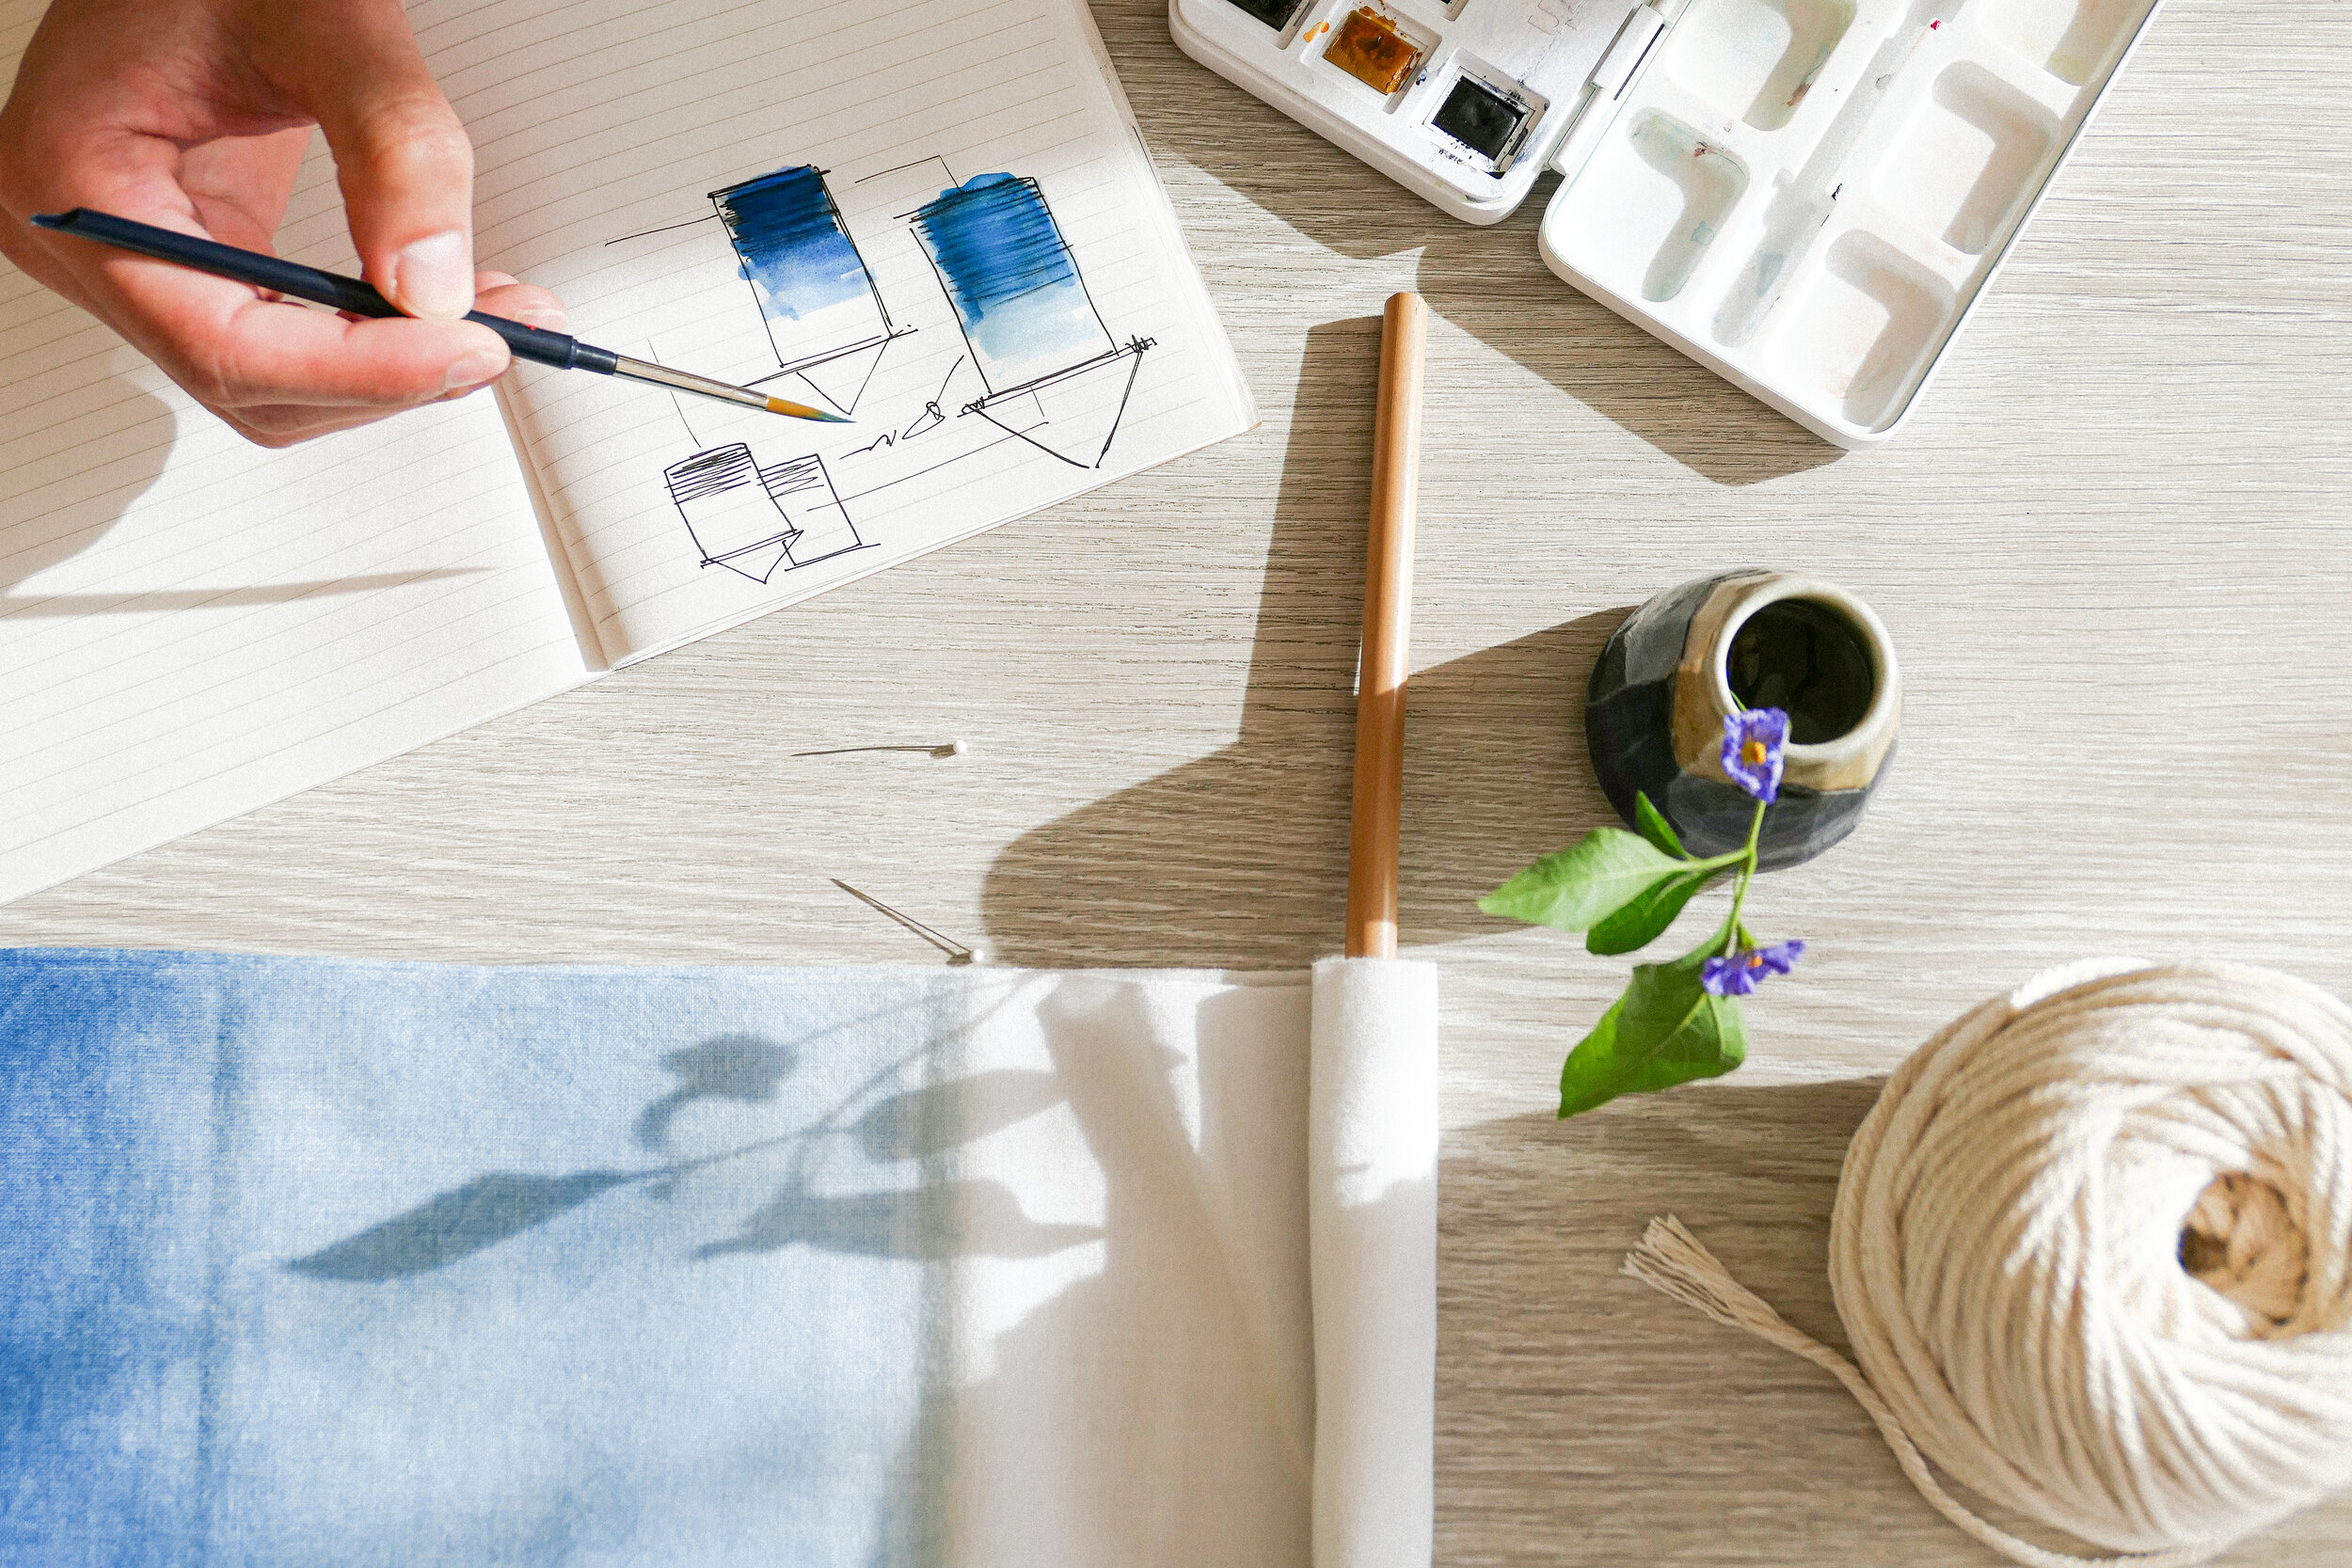
A set of pieces.
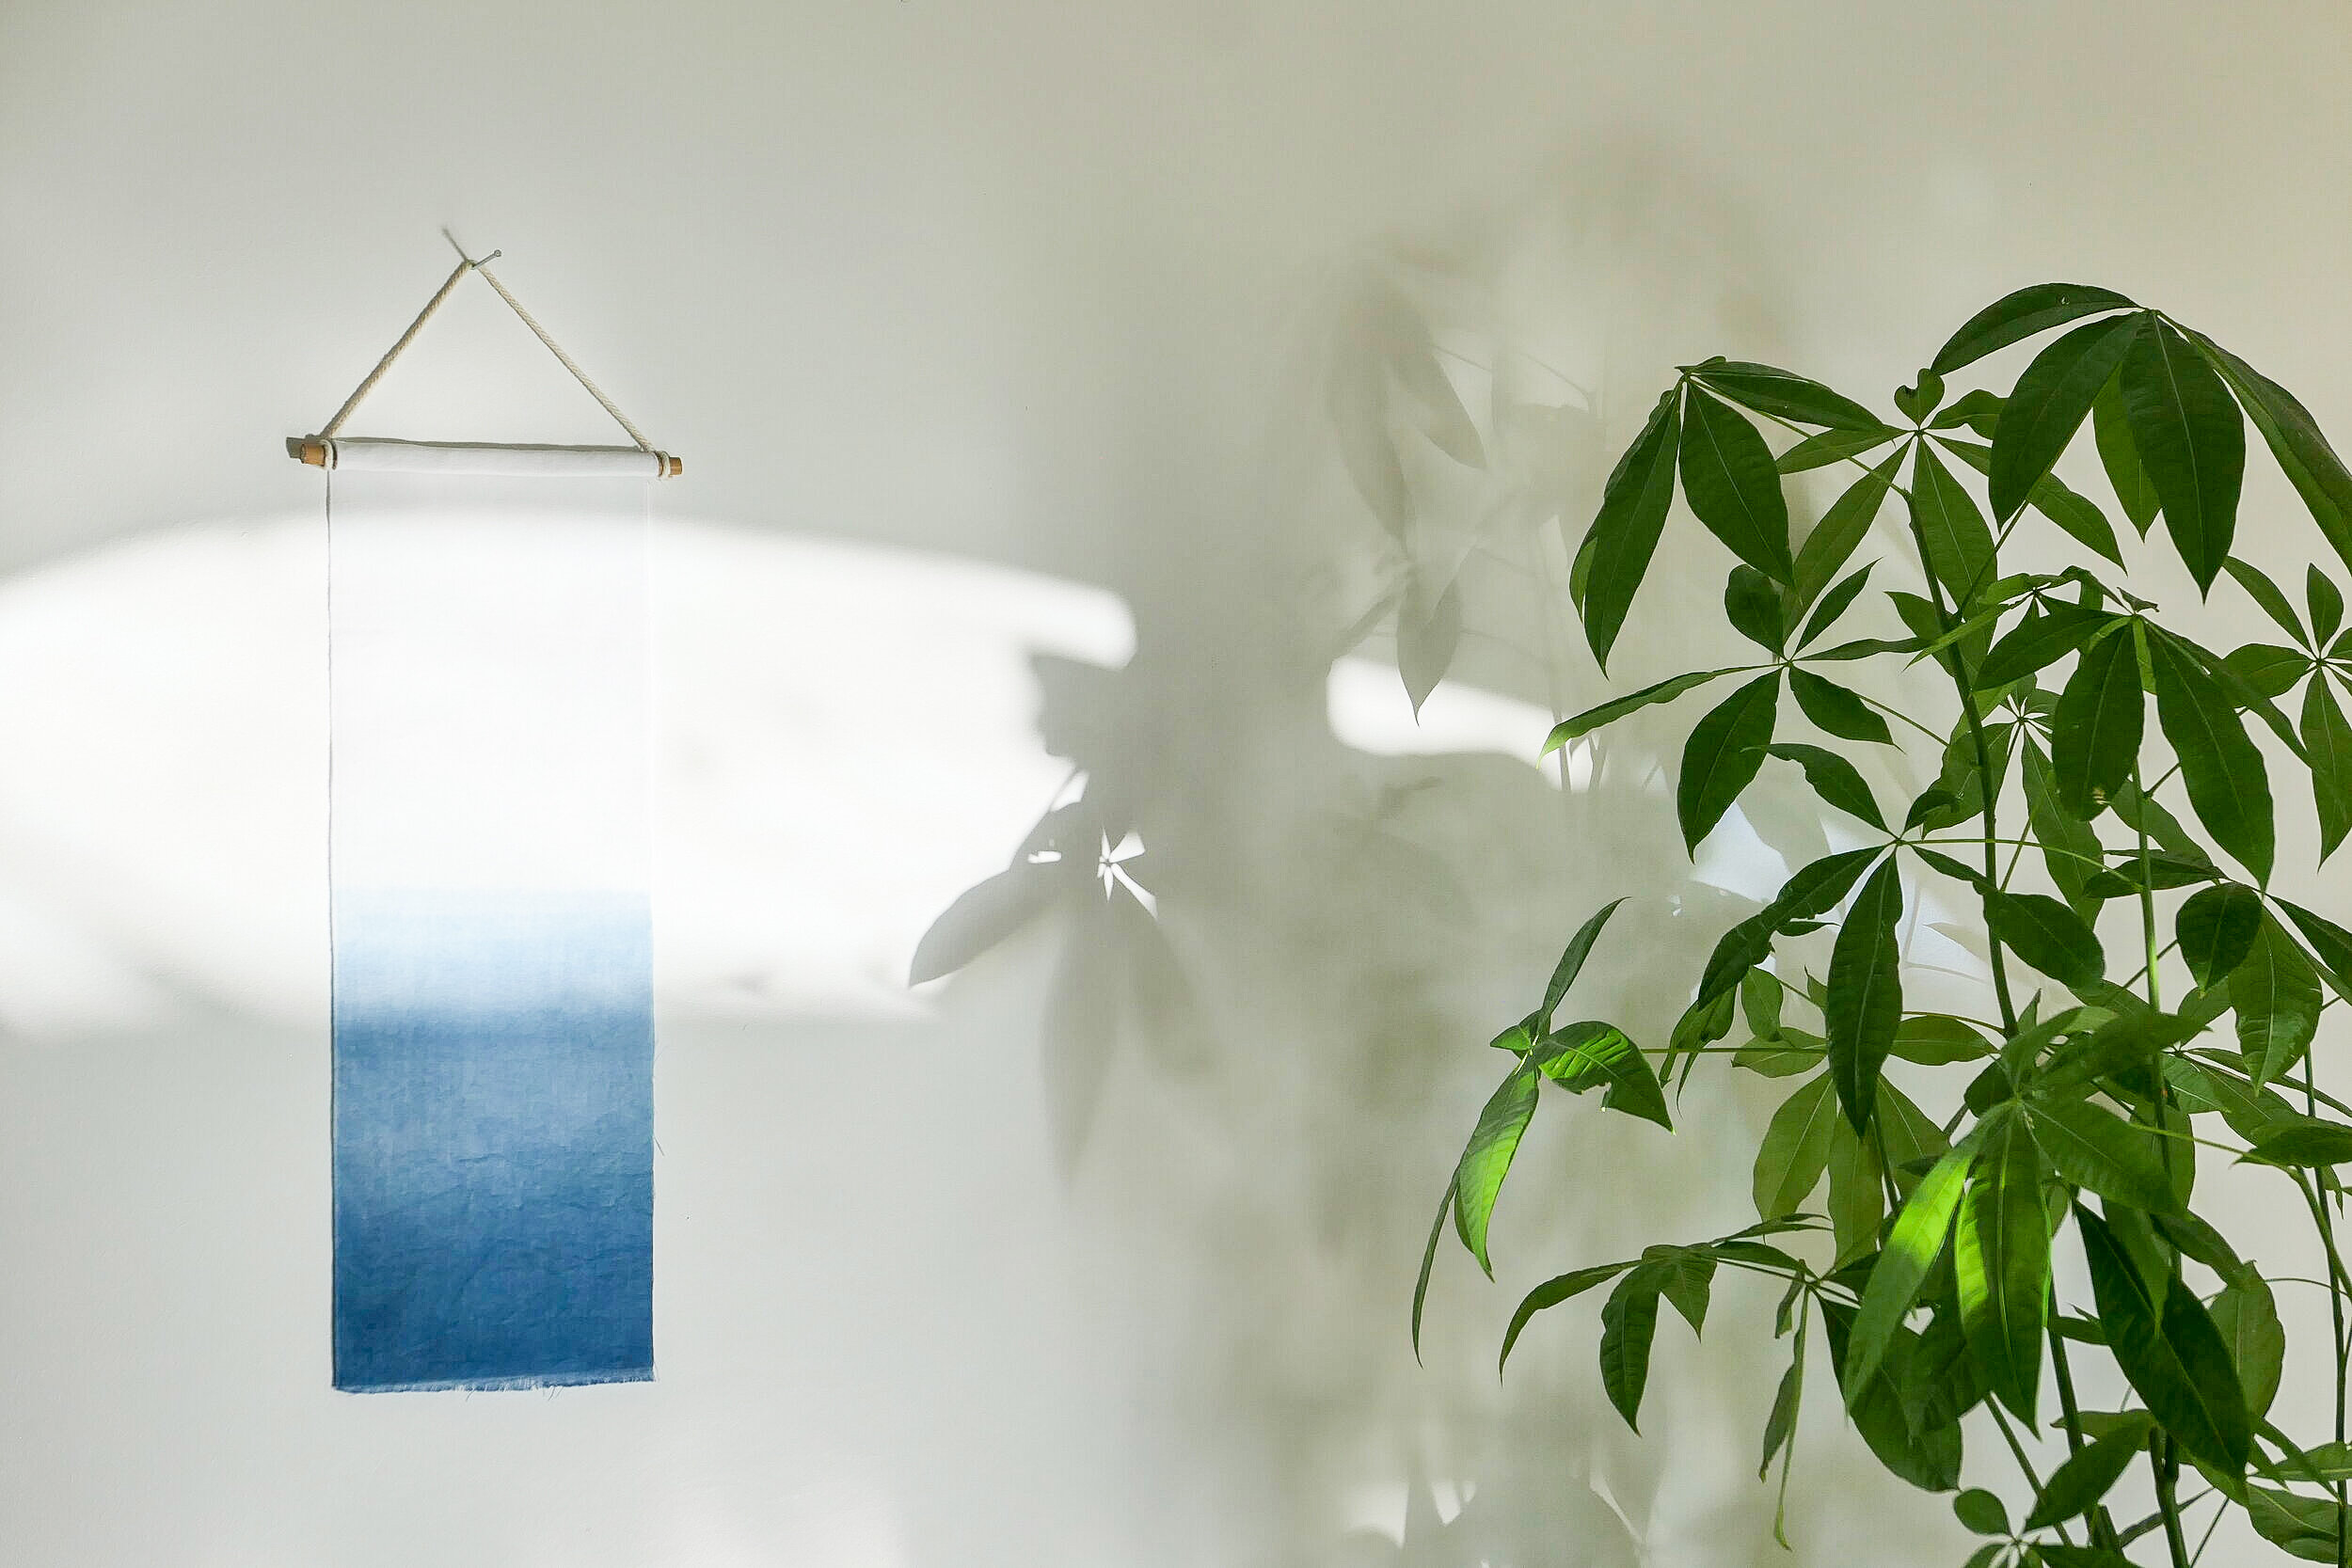
I had the idea to create a set of tapestry that would add a relaxed touch to an interior. Each one would have a different tone to represent the wide range of tones we can achieve with the indigo colour.
Inside the workshop.
To achieve the gradient, the fabric has to be dipped multiple times depending of the intensity of the colour desired.It looks green at first but quickly with the oxydation of the air turns into shades of blue.

Ai.life dying studio.
Indigoferatinctoria.
Indigoferatinctoria is the name of the plant used to make the pigment of indigo colour. Indigo dyeing is among the oldest dyes used for textile dyeing and printing, by processing the leaves with fermentation we can use it to colour dye fabrics.

The indigo is stored in those barrel.
The indigo dyeing process.
When the indigo is ready to be used, the fabric is dipped inside the solution. The intensity of the colour is achieved by dipping the fabric multiple times and for a long period of time, this will allow the cotton to absorb all the pigments.
After each exposure with the indigo, it is important to leave the fabric in contact with air to allow his oxydation that will reveal the shades of blue indigo.

Dipping multiple times to achieve the gradient.

Blue tones of indigo after oxydation with air.

The gradient are created and at every dip, the colour is getting more intense.
Washing the fabrics.
After the dyeing process the pieces are washed with hot water to remove the excess of residue and then left in a white vinegar solution to fix the indigo pigment to the fabric.

Washing with hot shower and white vinegar.
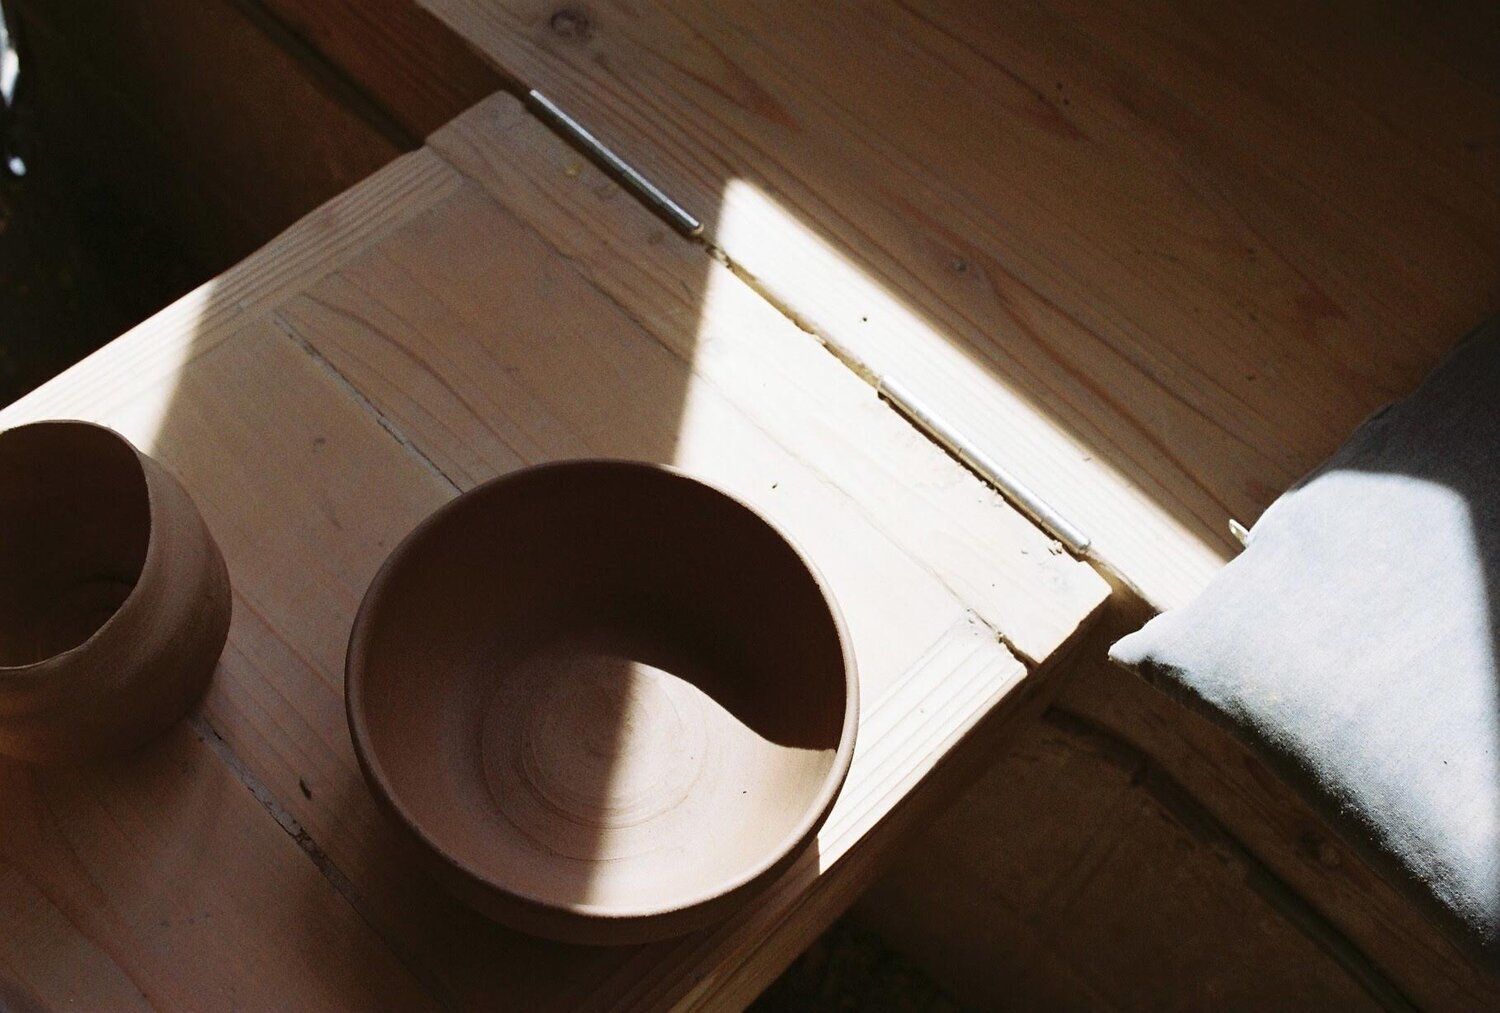
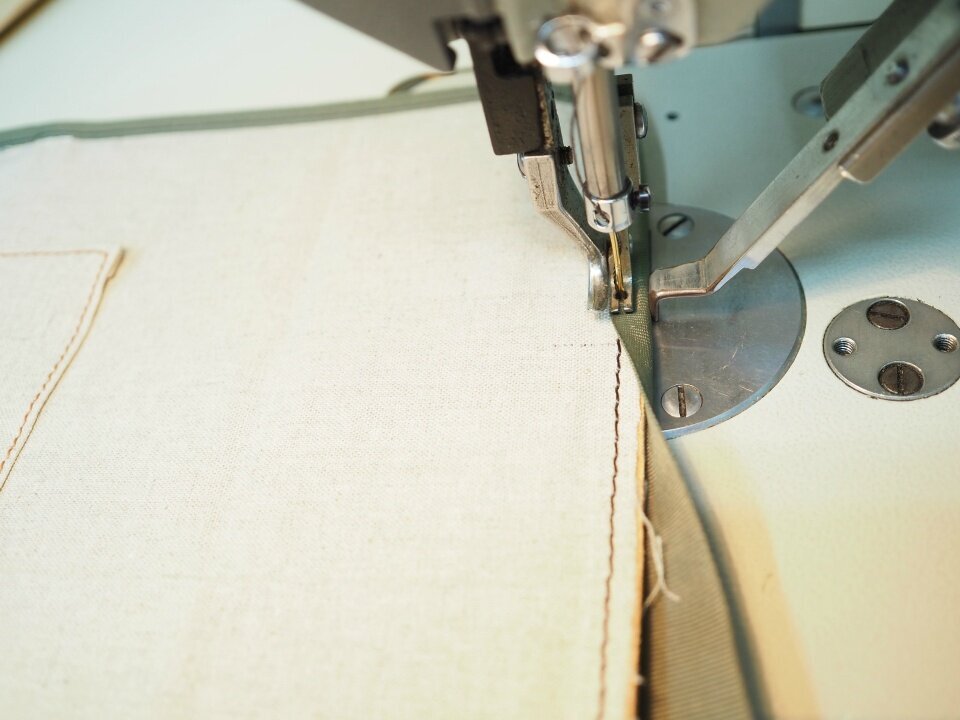
Making the hanger.
To attach the tapestry to the wall and keep a natural feel I used a Japanese bamboo and cotton cord. After stitching and making the knot, the pieces were ready.


The result.
A set of pieces that create a nice relaxed atmosphere in your interiors and a beautiful memory of Japanese art of indigo dyeing.


What I have learned from this experience
I improved my understanding and knowledge and have a better idea on I can use it with my designs.
To follow my intuition, curiosity to learn new things and express my creativity.
I have met inspiring and passionate people.
Mizuki Shimizu and Ai life studio for their kindness and for sharing their passion.
Next :